
Hydraulic Cylinder Assembly
Get An Instant QuoteSeal Fitting and Cylinder Assembly Steps
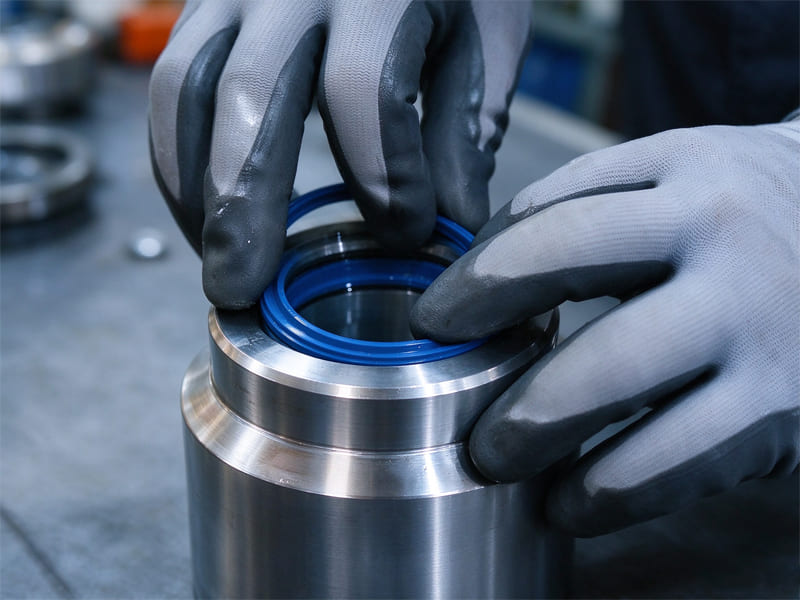
1.Pre-Assembly
The first step for seal installation and full cylinder assembly is component pre-assembly. That means we fit sealing rings, wear rings and back-up rings onto the piston. Meanwhile, we install seals and dust rings on the guide sleeve. First, we check the part number, material, batch number and shelf life of the sealing components such as sealing rings, back-up rings and dust rings, and we never mix them up or swap seals without approval. Next, we carefully check the seals to confirm the lip direction and make sure it is correct for later assembly. The lip of the piston’s main seal faces the hydraulic oil side. This keeps working pressure inside the cylinder and stops internal leakage. For the guide sleeve, its main seal lip faces the cylinder’s inner oil chamber. This way, oil pressure presses the sealing lip tight and stops hydraulic oil leaking out along the piston rod. And the dust ring lip faces the outside of the cylinder to keep dust, mud and water out of the cylinder.We also check seal surfaces for scratches, burrs or aging marks to make sure there are none, then coat them with matching grease before assembly, so the seals will fit in easily.
When we fit the seals, we use a tapered installation sleeve to fit sealing rings, wear rings and back-up rings onto the piston, and use a nylon press sleeve to push the guide sleeve’s main seal and dust ring evenly into the grooves. We never pry seals with screwdrivers, needle-nose pliers or other sharp tools, because sharp edges can nick the sealing lip while fitting.
Besides, we have one important note for piston pre-assembly. We fit wear rings and back-up rings correctly into their matching grooves, and stagger their split openings during installation. This stops the rings from twisting while assembling. After we finish pre-assembly, we check the installed seals to confirm none of them are twisted. Then we fit the piston into the cylinder barrel and test the sliding movement by hand, pushing it back and forth. We make sure it moves smoothly with no sticking. This prevents motion problems when we fully put the whole cylinder together.
2. Piston Rod Insertion into Guide Sleeve and Piston Assembly Fitting

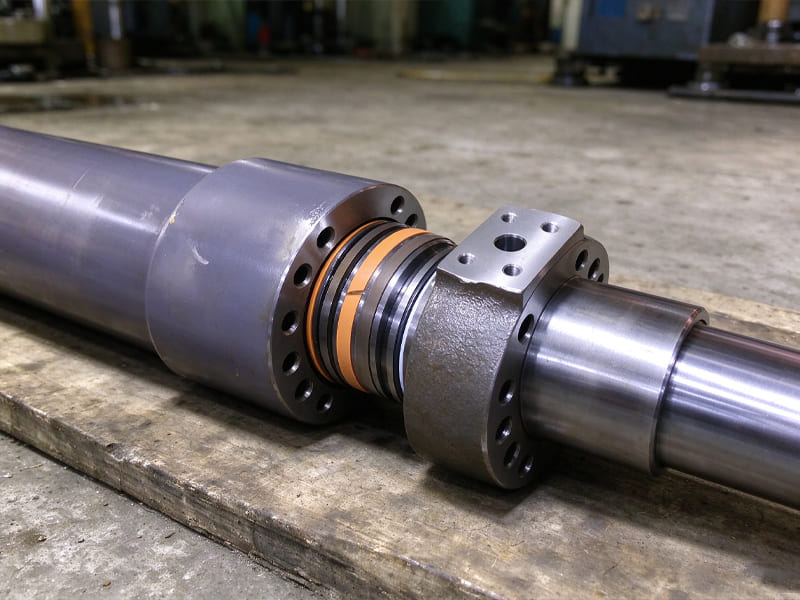
3. Loading the Piston Rod Assembly into the Cylinder Barrel
For the third step, we load the piston rod assembly into the cylinder barrel. First, we inspect the inner wall of the cylinder barrel. We make sure it is clean and free of burrs, iron chips or rust. Then we apply assembly lubricant compatible with the seals to the inner wall. This cuts down friction as we push the piston into the barrel and protects the seal rings.Next, we slowly push the piston rod assembly into the cylinder barrel. While pushing, we watch the chamfer, threads and oil ports at the barrel end. We prevent these areas from scratching the seals. We also keep the piston rod centered with the cylinder barrel. This keeps the seals on the piston outer ring from getting squeezed on one side and folding over their lips.
While pushing, we also keep steady pushing force. If we feel any binding, we do not force the push, because this may mean the seals at the piston edge are caught on the sharp edges of the barrel opening or oil port. In other words, the piston jams on one side. If we keep pushing hard here, the seals will get cut, and the piston will tilt from uneven force, and its metal edge will scratch the inner wall of the cylinder barrel. When we finish pushing it into position safely, we do a short manual push-and-pull test. If it slides smoothly by hand, the piston seals have no obvious damage from insertion.
4. Cylinder Head Installation with Lock Nuts or Tie Rods
For the fourth step, we fit the cylinder head. We use lock nuts or tie rods according to the cylinder design to secure the cylinder head to the barrel. This keeps the connection firm so it will not come loose while working. Generally, for small and medium cylinders with threaded construction, we use lock nuts to secure the cylinder head. For heavy-duty tie-rod style cylinders, we use tie rods instead.
Before assembly, we clean the cylinder head and the threaded areas used to fasten the cylinder head. We remove iron chips and debris from the threads. Then we fit the main piston rod seal, O-rings and back-up rings onto the cylinder head one by one. After we fit all the seals, we slide the cylinder head over the piston rod and seat it against the front end of the cylinder barrel. Next, we tighten the nuts or tie rods to the torque values required per the drawing and process requirements, making sure all fasteners get even force. If the drawing calls for thread locker, we apply it on the thread flanks before tightening the fasteners. This locks the threads and prevents threaded joints from loosening with long service.
After assembly, we check the concentricity between the cylinder head and cylinder barrel. We also check the fitting gap between their end faces to make sure the cylinder head is not off-center. We record the torque readings from our torque wrench. We also add anti-loosening witness marks. Half the mark goes on the side of the nut, and the other half extends onto the barrel or tie rod. This lets technicians quickly check if nuts or tie rods have shifted during later maintenance.
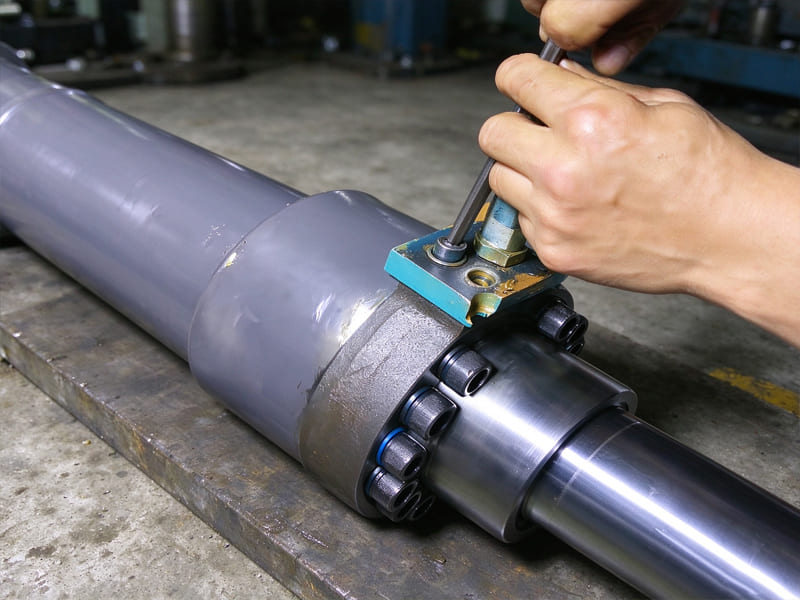
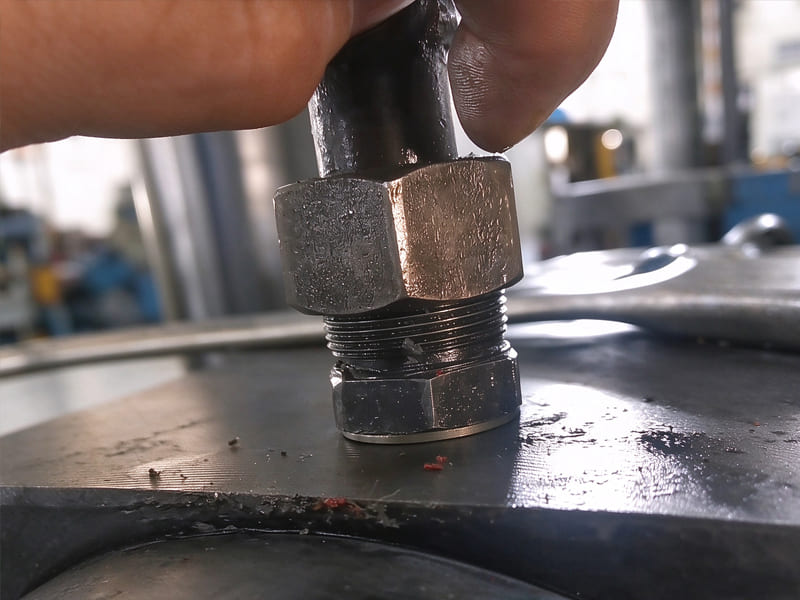
5. Port Connector and Dust Cover Installation
Leveraging our full in‑house manufacturing capacity, we are ready to develop custom hydraulic cylinder solutions for your project. Please get in touch with us today.